Mini Pleater – For Doll Clothes
I love all the tiny pleats that are on many of the vintage doll clothes, but it takes so long to make them that I decided to make a mini pleater to make it easier. There are commercial ones available, but they are very expensive. I thought some of you might like to make one too, so here is how I did it. I actually thought about making them for sale, but when I discovered it takes about three hours to make one, then I decided everyone could make their own mini pleater! LOL
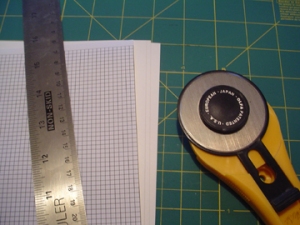 Here is how I made a 1/4″ mini pleater with a 5/16″ return. First I printed out one sheet of 1/8″ grid paper and one sheet of cardstock from this site. http://incompetech.com/graphpaper/plain/ I set the border to 0.25, and 8 lines per inch. Then I stacked the grid paper on top of two sheets of white cardstock and cut 42 – 3/8″ strips.
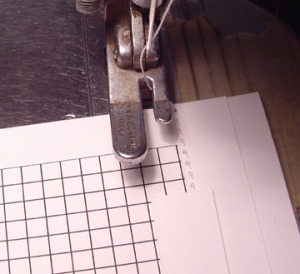 Then I sewed the strips to the cardstock graph paper, every 1/4″ stitching close to the edge. It is easy to see because you just line up the strips to the line on the graph paper.
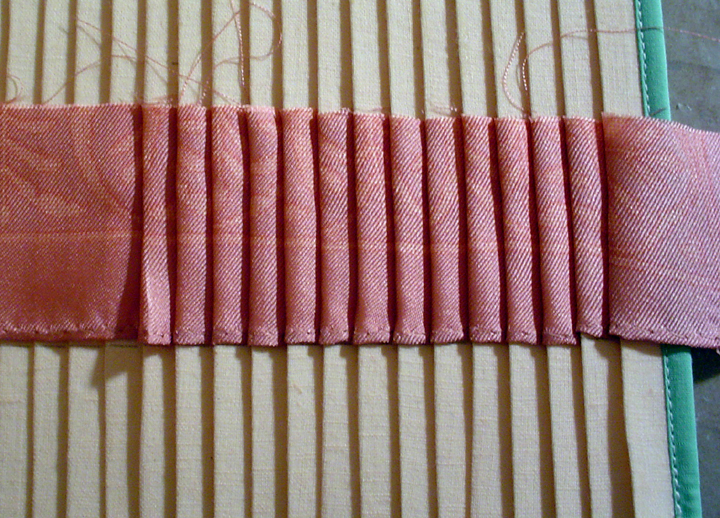
When you have covered the cardstock with evenly spaced strips, then prepare the cloth cover. I chose a 100% cotton batiste for my cover. Cut a piece 8.5″ X 40″, then iron it to lightweight WonderUnder. When the fabric has cooled, peel off the backing paper and begin to pleat it into the grooves on your pleater. I used a small, thin plastic ruler, but you could use a credit card also. Work to keep
  the fabric pressed evenly across the louvers. Do half the mini pleater, then go back over each louver with your plastic piece and iron. Do the second half the same way. Tuck about a half-inch of the fabric to the back and iron in place. Then cover the back with a piece of fabric with WonderUnder on it. I stitched each end, then ironed it down.
Take your pleater back to the cutting board and using your rotary cutter, cut off about 1/4″ off each side. Voila! Now I can make pleats quickly and easily for all my doll clothes.
I also make a 1/8″ pleater using the same graph paper. I cut 1/4″ strips for this one.
Now I have two sizes of pleaters. It took a day, but it will be worth it. I hope you can make your mini pleaters easily too. If you have any questions, just ask. 🙂
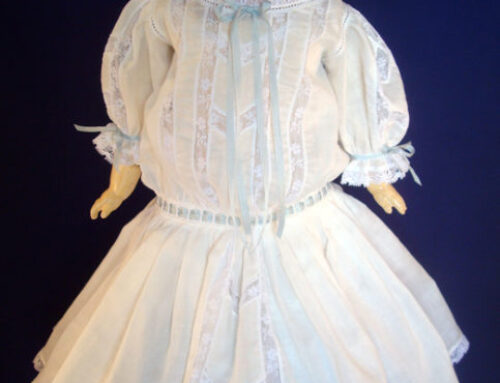
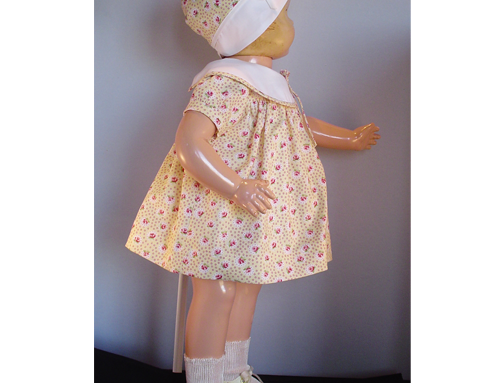
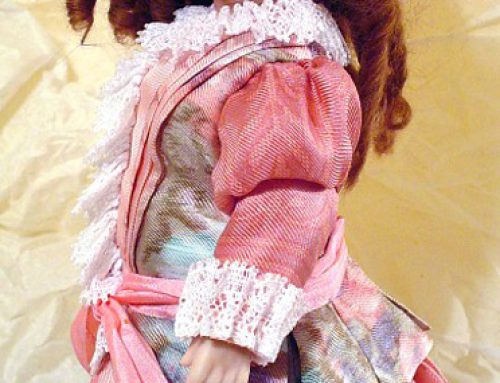
If you look at my patterns, you will see where I used the mini pleater. 🙂

I am happy to email with any doll person. I love learning new things about doll making and sharing my knowledge with others.
rubiemae@etreasureshoppe.com
What a great tip! I’d like to put it on our doll club facebook page, but I don’t know how. Anyway, THANK YOU
Judy
You are welcome to put a link on your doll club page, but please don’t take my copyrighted works to put on your page. 🙂
Nice job – thankyou so much for providing this information!
I absolutely love your idea for making a pleater. I love the French costumes too, but the pleats are a bit of a challenge. I shall make my own pleater. Thanks for sharing. Regards, Naomi
I certainly agree that pleats are a challenge. You can take my pleater idea and make it in any size, just change the size of the grid. It takes a couple hours to make this pleater, but it is worth it even if you only use it once because it makes such perfect pleats. If you have any trouble, just email me and I would be happy to help.
Just stopped by to let you know that people who have seen your mini-pleater instructions on Yakkity Yak love it! I am referring them to your site as the author of the instructions, and so they can see what else you’re up to. And, of course, I read your latest and especially enjoyed How to flute without a fluter! Atta Girl!
If you were making drapes using this pleater, how would you stiffen them to stay in place. Are there any drapery insructions in your blog.
So happy to find this blog tonight.
Nice blog!
You are SO bookmarked. I can’t wait to try the mini pleater and other beautiful ideas,Thanks so much and thanks to Yakkity Yak dolls for posting this link 🙂
Cheers, Laura
what a nice visual tutorial on how to make this! thanks for the very useful info! I am making my own small size pleater today!
Thank you so much for putting these directions together. It was just what I needed. I started with an 1/8″ pleater, because that’s what I needed right now, and it came out really well. If I may add a suggestion, I used alternating colors of cardstock so I could more easily line up the louvers for sewing.
Your blog is awesome, I’ll definitely be coming back for more ideas.